Played through the entirety of kingdom trying to get the “bad” routes. Here’s some things I noticed:
Hole 10:

The ramp on this area is a bit hard to see, and when you try to hit the ball at a stronger power (to ride along the curve and get close to the second platform), you end up flying off unexpectedly. I would say to make it more of a square L shape rather than a curve to hint that a lower power level should be used.
Hole 11

Hitting Par (without getting HiO) is quite difficult. Did the “bad route” perfectly as intended (shot 1 to before stairs, shot 2 to top of stairs), and hit shot 3 full power, ending up in this location. You’re guaranteed to end up on the right side because you ride the curve.
Going the safe way requires two shots (one to drop down onto the lower platform, and another to go down the ramp), resulting in a bogey.
Ricocheting off the left wall can get you a par, but requires some precise angling and power to properly end up on the ramp (hitting too hard makes you miss the drop-down.
I’d say add a booster after the moving platform that guarantees a drop-down, but add another obstacle that would prevent players from dropping down, and make the entire ramp slope downwards (no flat part). This would give a birdie for players with good timing, and a par for players who did things correctly but just got unlucky.

Hole 12

Not really an issue with the map design itself, just that the wheel breaks pretty often. I’ve had several times where I score in the green area but end up clipping into the red, or just phasing through the wheel entirely (not a lag issue, as these games were self-hosted).
Hole 13

Having your ball end up on the other side of the platform from the waterspout makes it impossible to see the position of the moving wall (and therefore score a par).
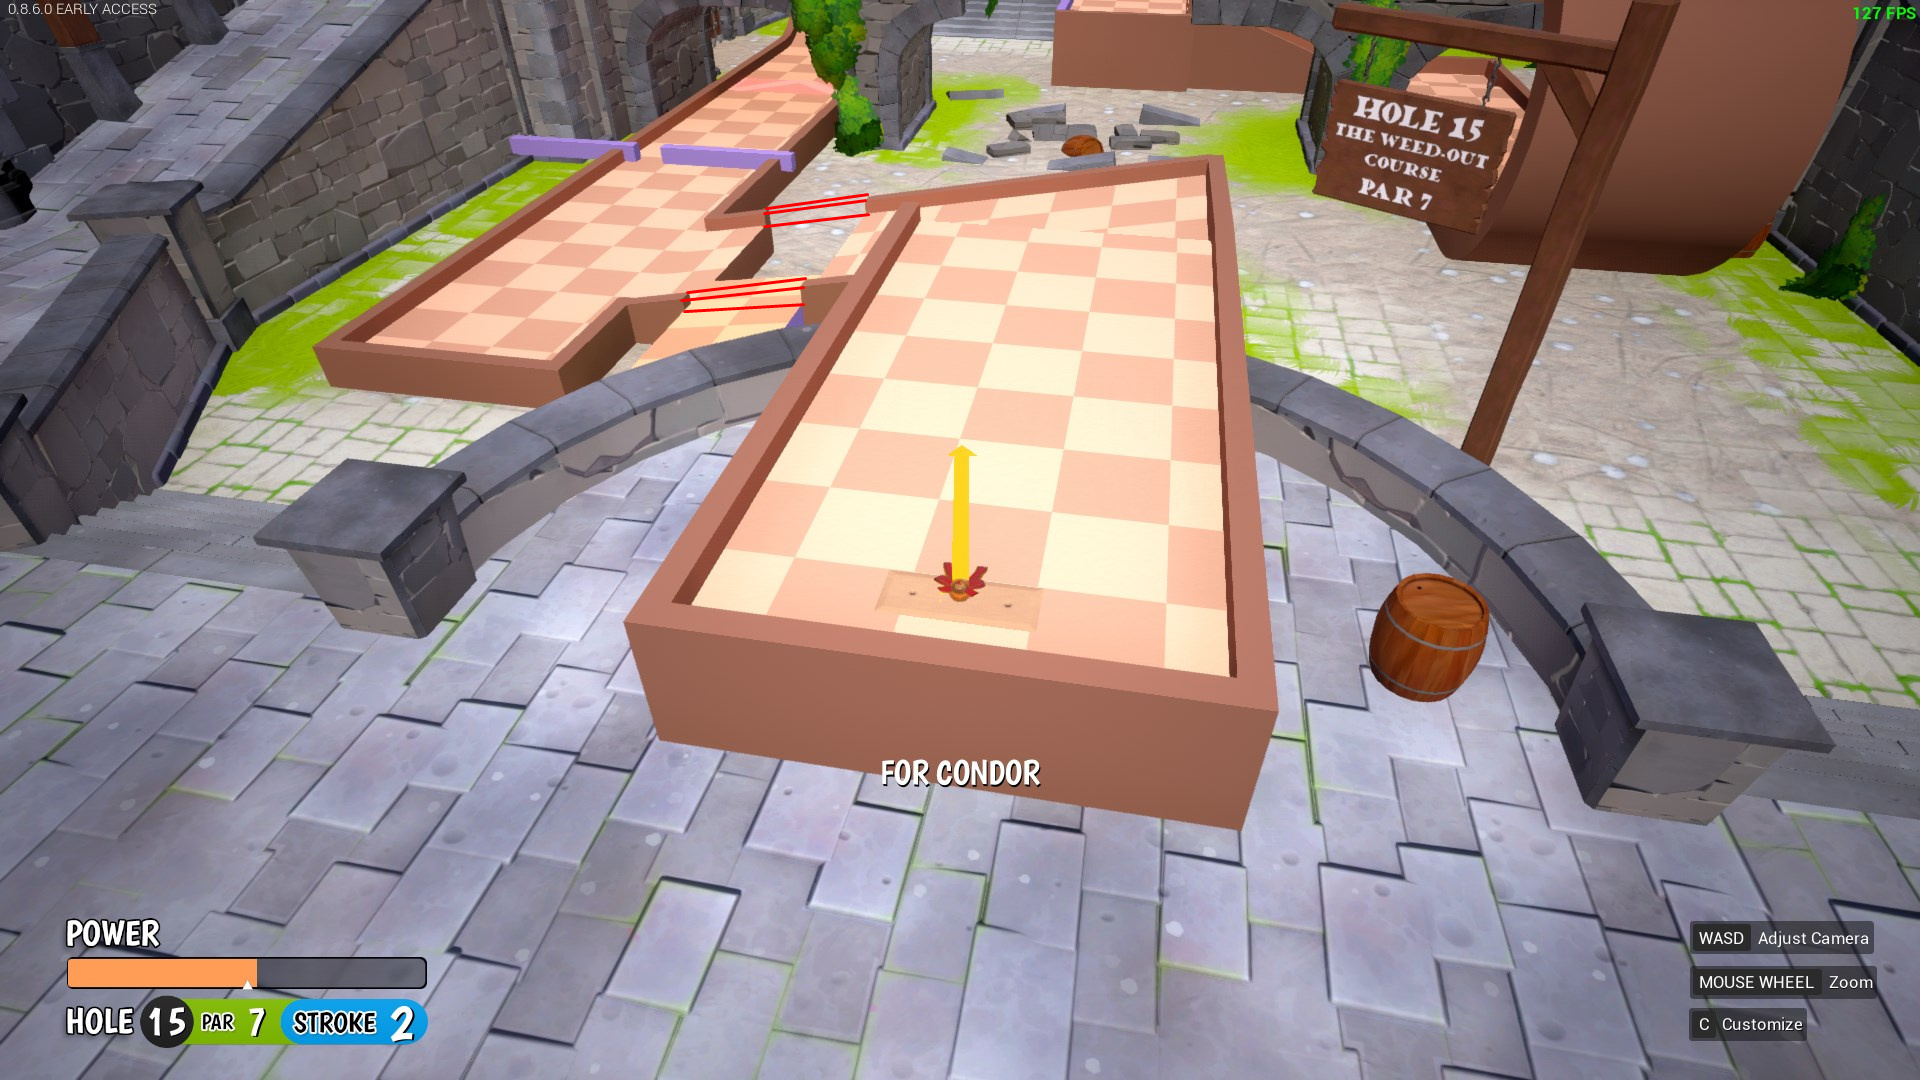
Hole 15
First shot is excessively difficult, since higher powers cause you to ricochet off the wall and fly through the gap next to the moving platform, while lower powers make it difficult to properly land onto the moving platform. I’d say to add some walls on the sides to make higher powers less of an issue.
Hole 17

The indicator could use some adjustments. You would assume that you’d want to hit the ball in while the arrow’s in the green area, but if the ball gets into the hole during this time, you actually end up in the yellow area (or sometimes into the red) since it doesn’t account for travel time down the pipe. To actually score a HiO, you need to hit the ball while the arrow’s in the top right red region.