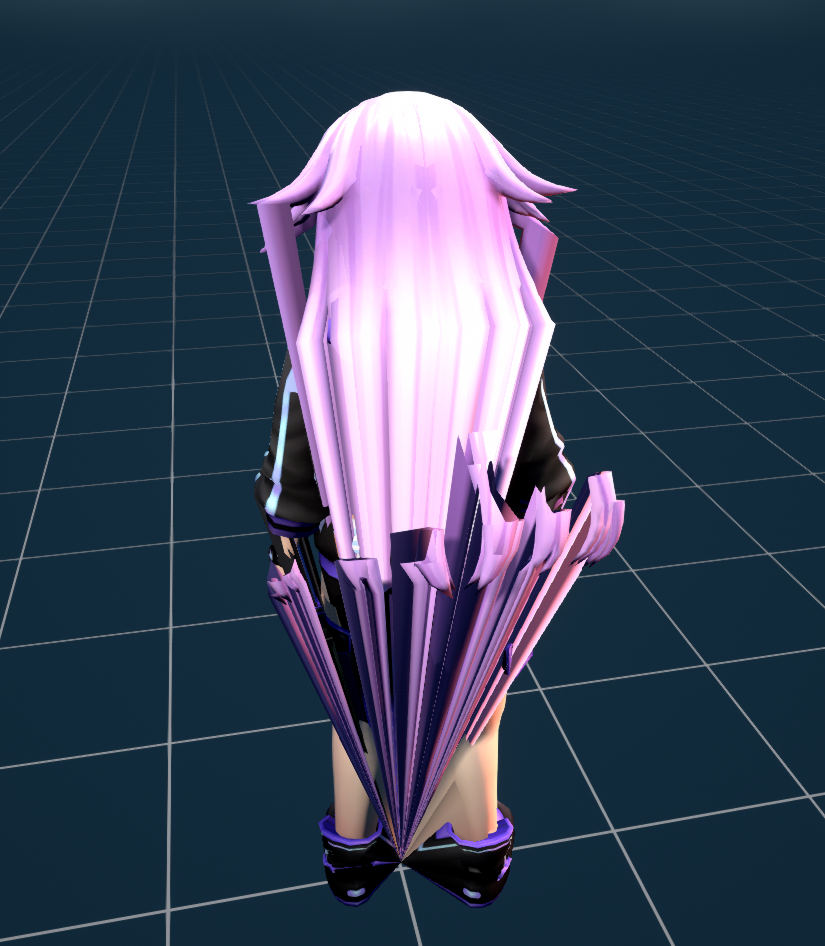
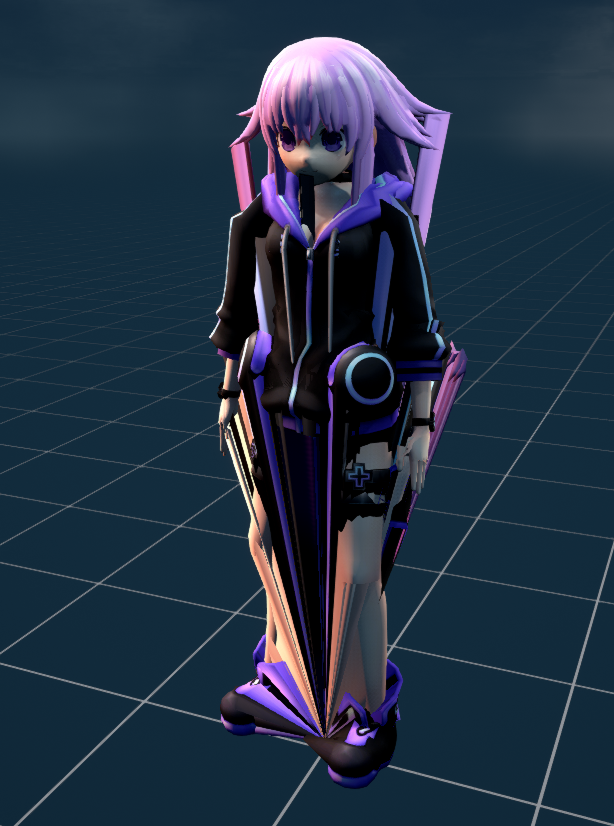
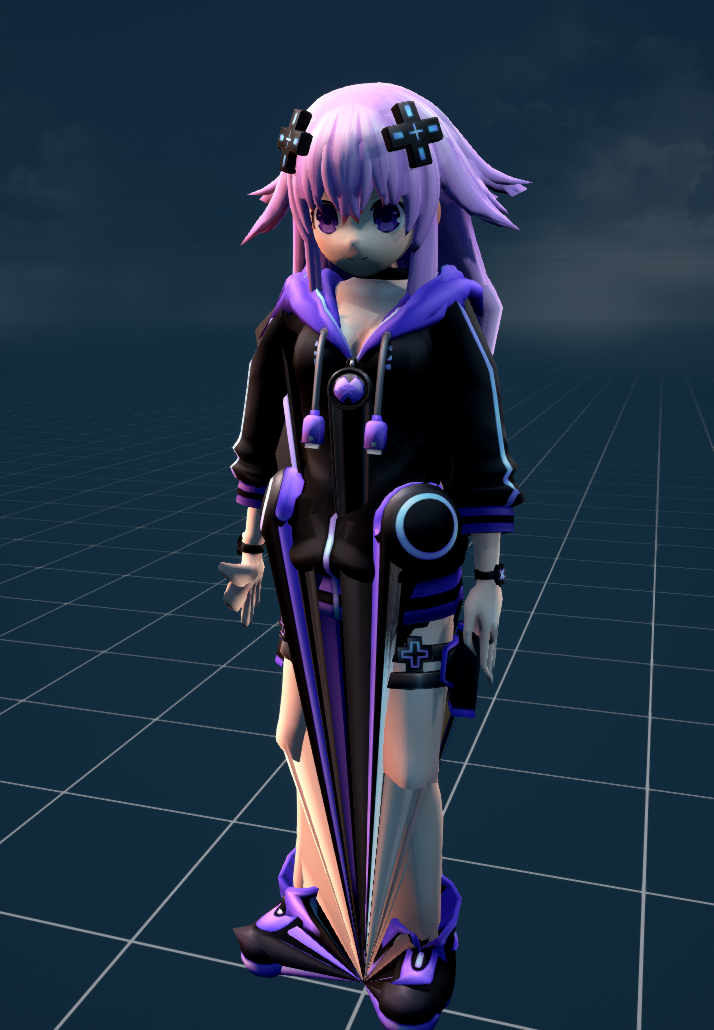
so after some hard work I’ve gotten my playermodel to look like this, I sadly do not know how to fix this issue since I am very new to blender. I have tried doing some weight painting and it’s helped somewhat but I’m either getting the wrong areas or I need to do something else.
If anyone could help me figure this problem out, that’d be great.
Try this quick fix: open the blend file, press A to select all, and then Ctrl+A and reset transform, scale and location.
It might fix the problem
If not, check the weight painting and make sure that the weights are where the bone should be
Alright, I’ll give that a try. But I’m wondering what to attach the hair to… probably the head right? or would it be best to put the hair next to nearby bones
Alright, thanks. I’ve got one last question for now. How am I supposed to get all of the hair? I mean, it’ll be easy for the outside, but it’s gonna be tough getting the inside, right? or is there something I can do to make the body invisible or something
oh and I have one last one, HOW THE HECK DO I USE THE CAMERA.
like is there anyway I move the camera freely? I’ve just been zooming in, rotating the camera, and zooming out. it’s super annoying
Sorry one last question, so I when I first made my character I set mirror mode on it, and I think it’s cause some of the issues possibly with the textures stretching, you know any way to remove it? cause I don’t want it to be mirrored anyways
An easy way to move the camera around to where you need it is using SHIFT + F
It lets you zip zoom around like a first-person game and position yourself where needed,
just be sure to reset your origin when you’re done with SHIFT + C or . after you do
what you need to.