Hi, I’m kind of at my wit’s end trying to figure out what went wrong with the import. I just finished a model and rigged it using the Tower Unite workshop plugin for Blender and did everything to get it working following Spoom’s tutorial.
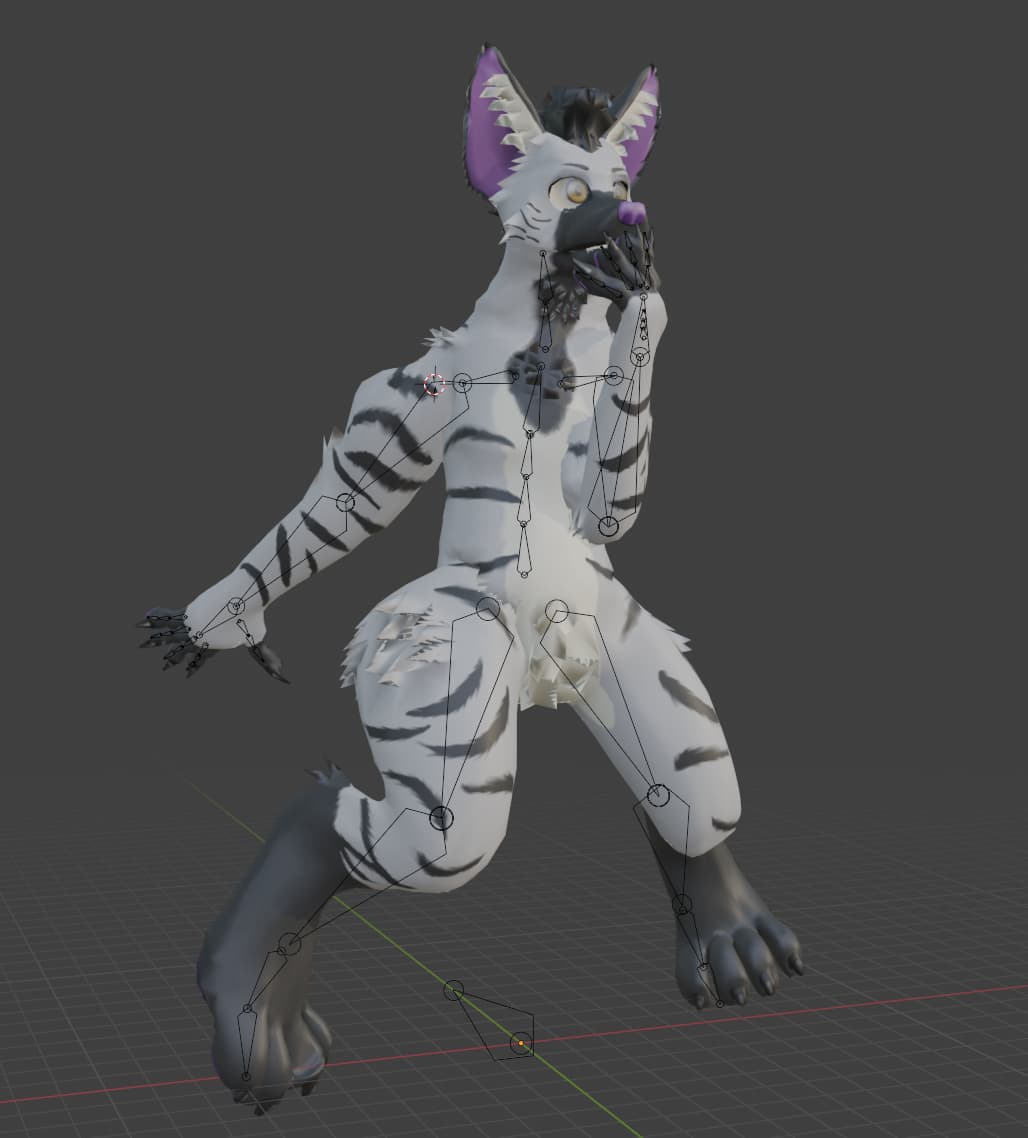
I got everything weight painted, applied my transformations, and double checked to make sure my coordinate mode is set to XYZ Euler. In Blender the model looks like this (posed):
Upon export (after setting it back to the default reference/T-pose), the log didn’t indicate any issues, so I thought it was in the clear.
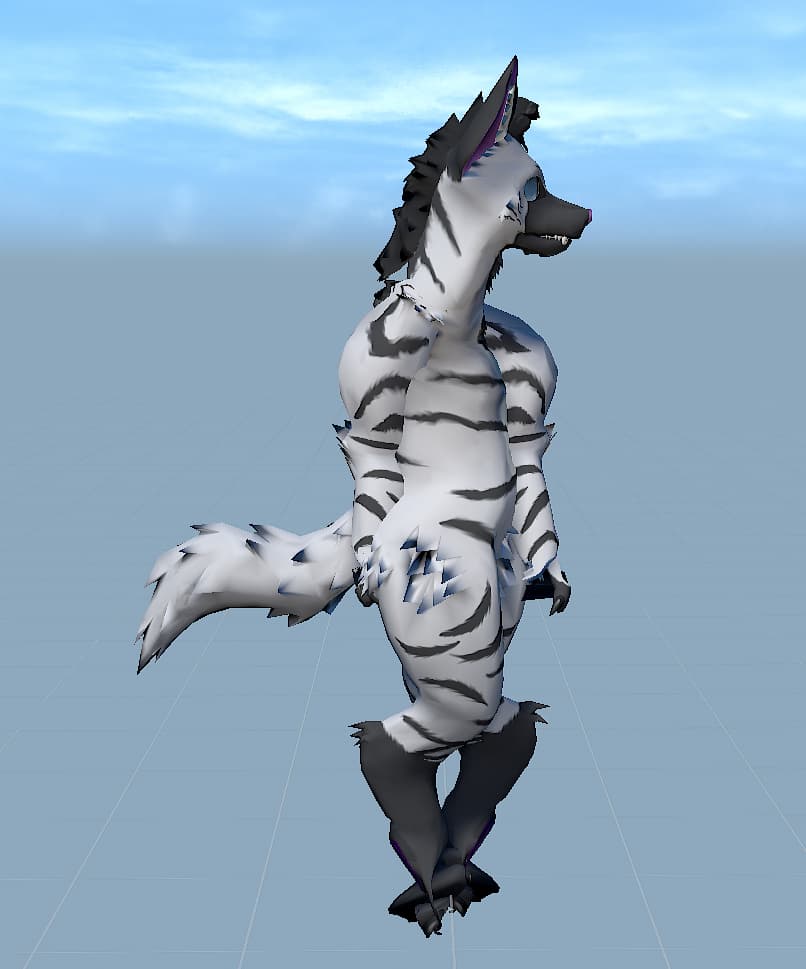
After importing into Tower Unite however, it looks like this. It’s almost as if the whole model got rotated 90 degrees counterclockwise, while the bones maintained their orientation.
For what it’s worth, there’s also an error that reads “Model is too large or off-center along negative-Y axis. Max extent is -128.000, and your model extended to -132.347.” I figure this is either irrelevant or at the very least being caused by this issue.
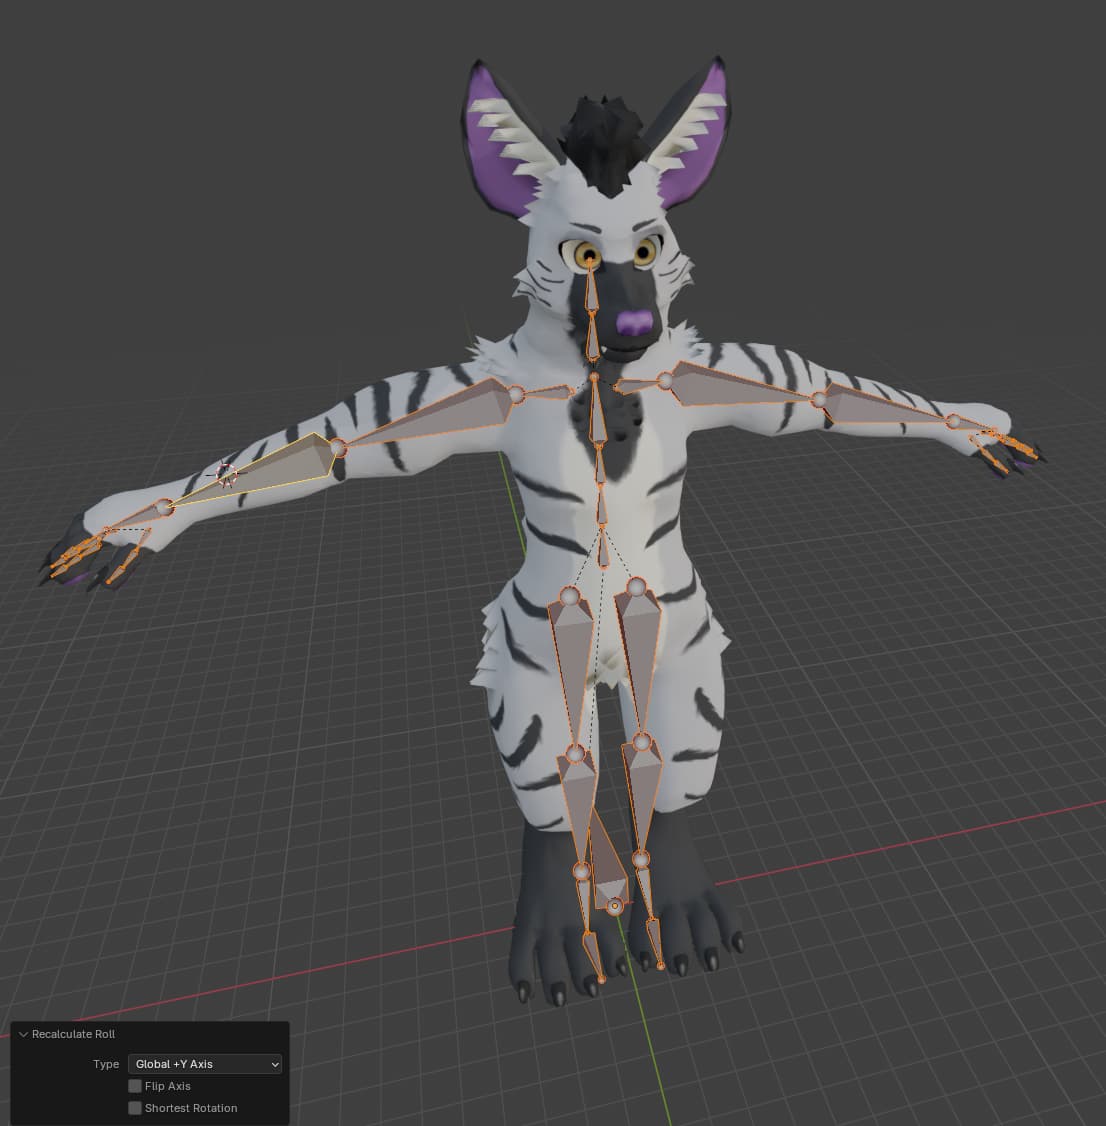
Make sure you reset the Bone Rolls to the Global +Y. You may also need to adjust the rolls of particular bones sometimes.
You can reset the bone rolls by selecting the armature and going into Edit mode and going to the “Armature” drop down in the top left. Should be within the first few items there.
That appears to have done it. It did highlight an issue with some of the weight painting in the feet that wasn’t highlighted in Blender, but the big issue is resolved which is important, greatly appreciated Alexer!
I had to, on a couple occasions, flip the toe bone rolls around 180 degrees to get em to sit right. I’d say play with that in incriments to adjust things.
Additionally, UE4 has some strange property where if you have a character model that has weighted vertex groups overlapping the same areas, it calculates how those weights affect said areas differently than blender does, which is why sometimes when you have fingers being weighted, they get all crinkled up, as it doesn’t average the weights between the groups and instead likely combines them additively.
To alleviate the issue, you can use Vertex weight mix modifiers to remove the weight paints of one group from another, to minimize weight overlaps in areas like the fingers.
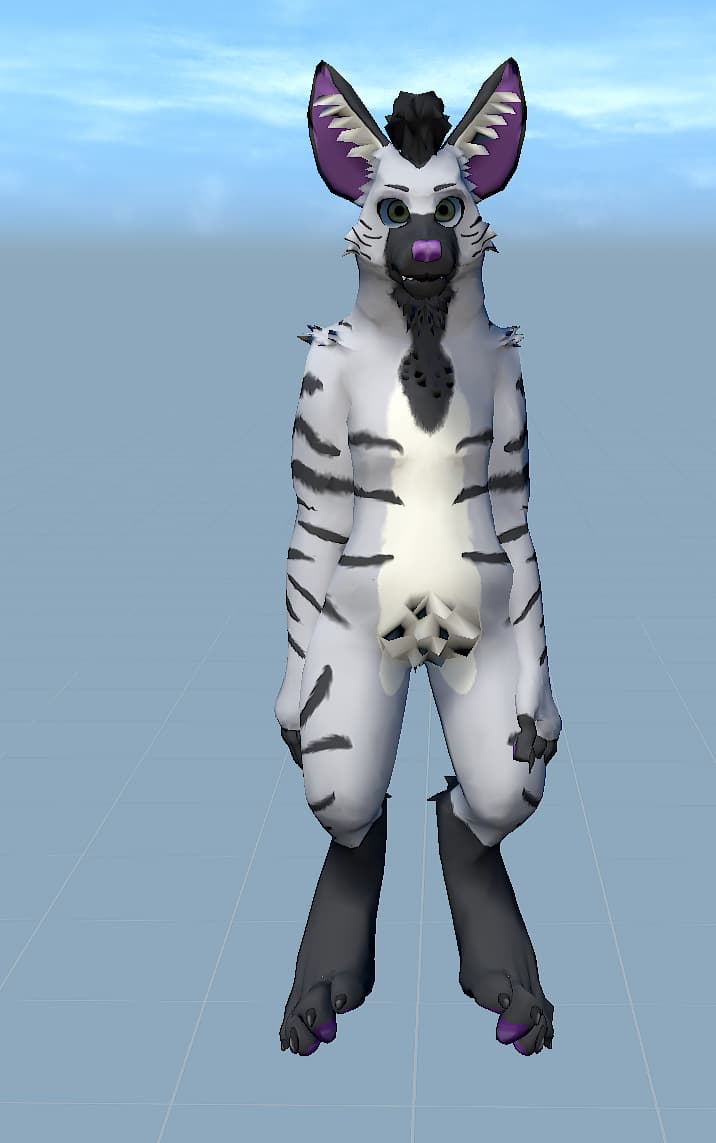
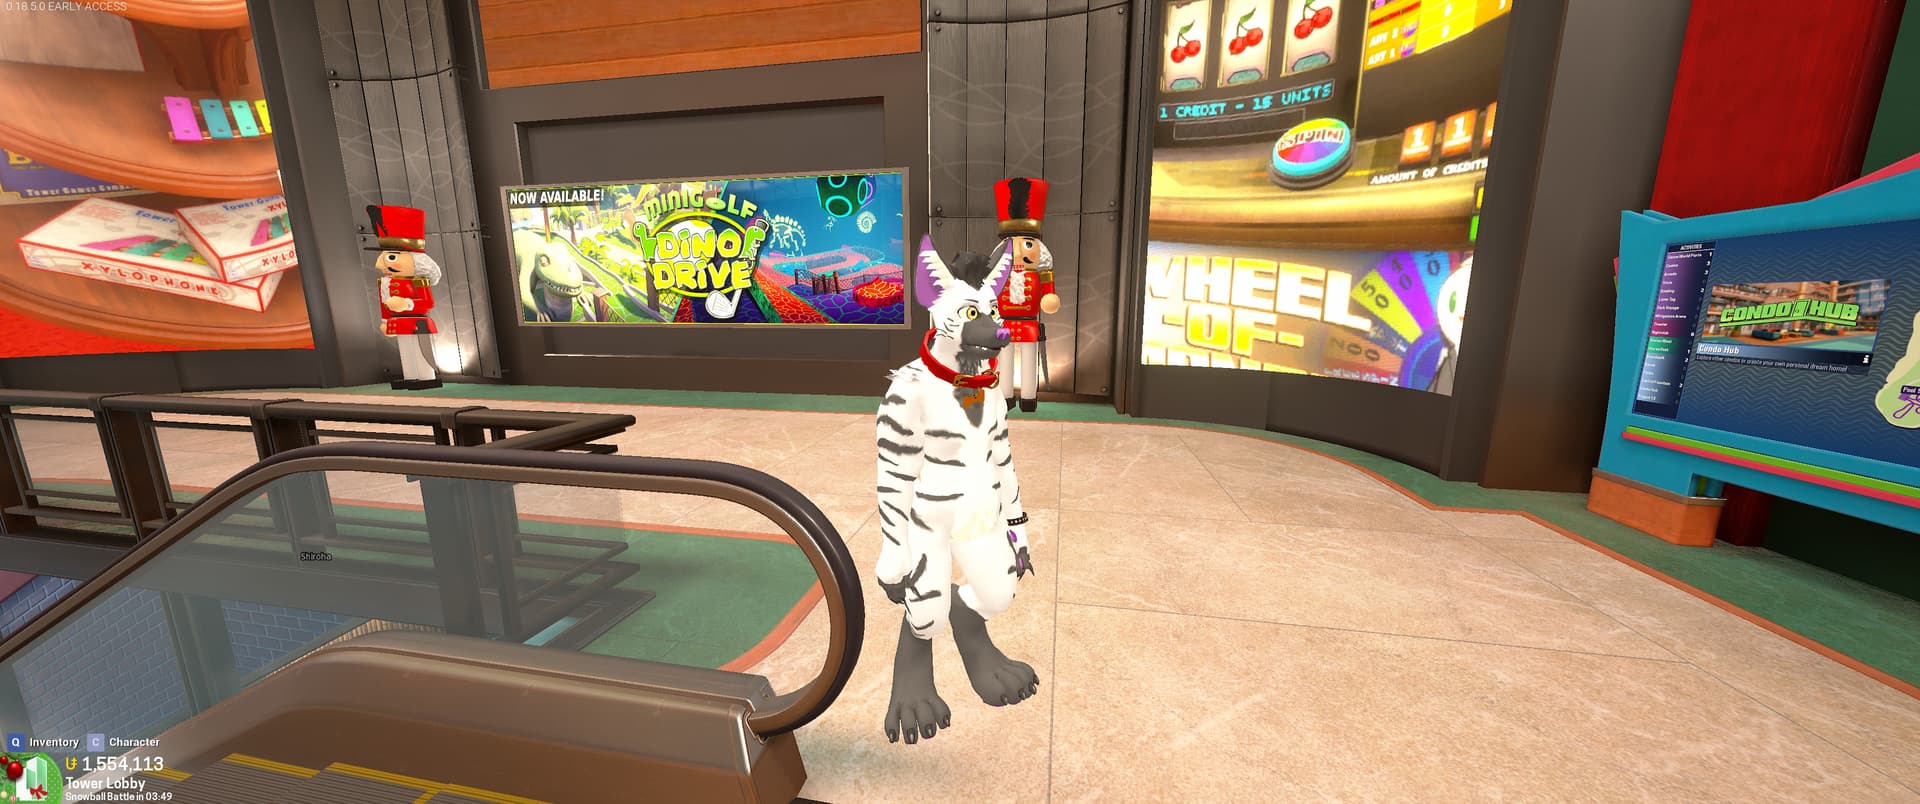
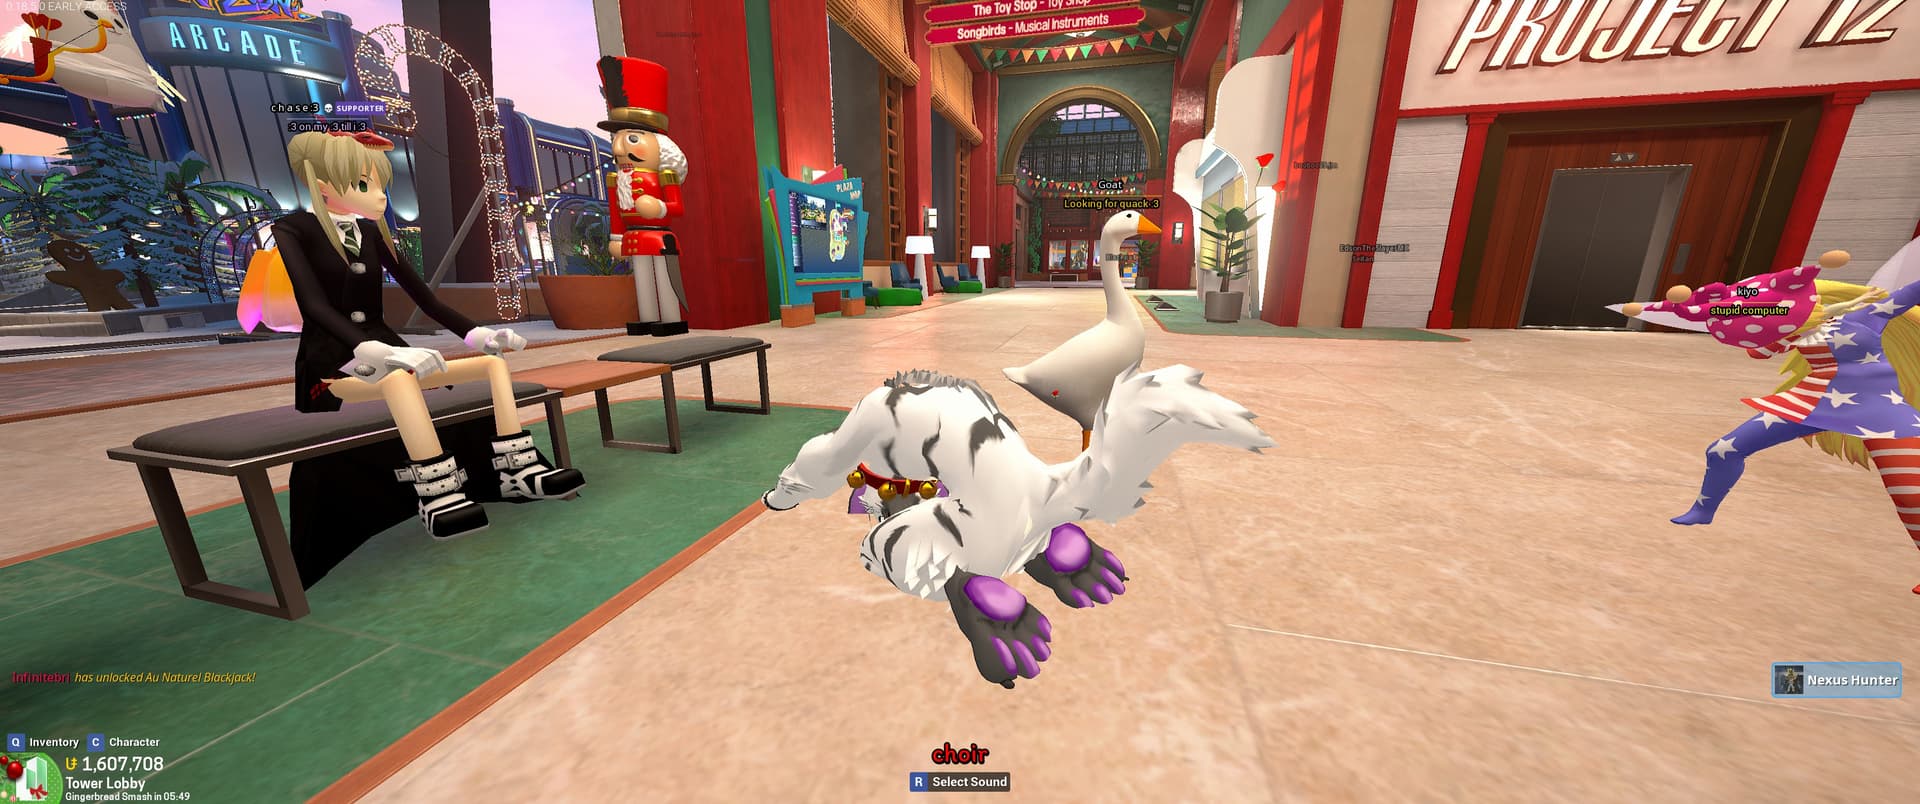
Yeah, it was as I thought and as you described. Model’s in and looking good. I may go back and adjust some of the weight painting since the back mane shrunk on the import. Also there’s some weirdness with one of the vertices on the right eye. But otherwise, it imported perfectly: Steam Workshop::Clavius the Striped Hyena